I used to have one of those sunrise alarm clocks in high school, I mainly stopped using it because micro-usb port for powering it was pretty flimsy and would fall out constantly. However, I still want to have something similar so instead of getting a new one like a normal person I decided to overengineer my own alarm clock with a wifi RGB LED lightbulb. Using that I made an automation blueprint to tie it all together, which I’ve been using since May and you are free to use for yourself.
Guide
For this guide assumes that you have the following prerequesites:
- Athom Technology E14 Color Bulb for ESPHome
- A device running Home Assistant core
- Docker compose
Athom RGBCT Light start
- Power on Athom Light
- Connect to Athom Light AP
- Go to 192.168.4.1
- Put in 2.4GHz wifi SSID and password
- Take note of the domain, it should be automatically assigned to something like http://athom-rgbct-light-xxxxxx.lan/. I suggest going into your router or whatever you have managing dns and dhcp and setting up a route so that the ip and mac address of the Athom light bulb always uses that domain.
Setting up ESPHome Server
Put the following in compose.yaml
version: '3'
services:
esphome:
container_name: esphome
image: esphome/esphome
volumes:
- ./config:/config
- /etc/localtime:/etc/localtime:ro
restart: always
privileged: true
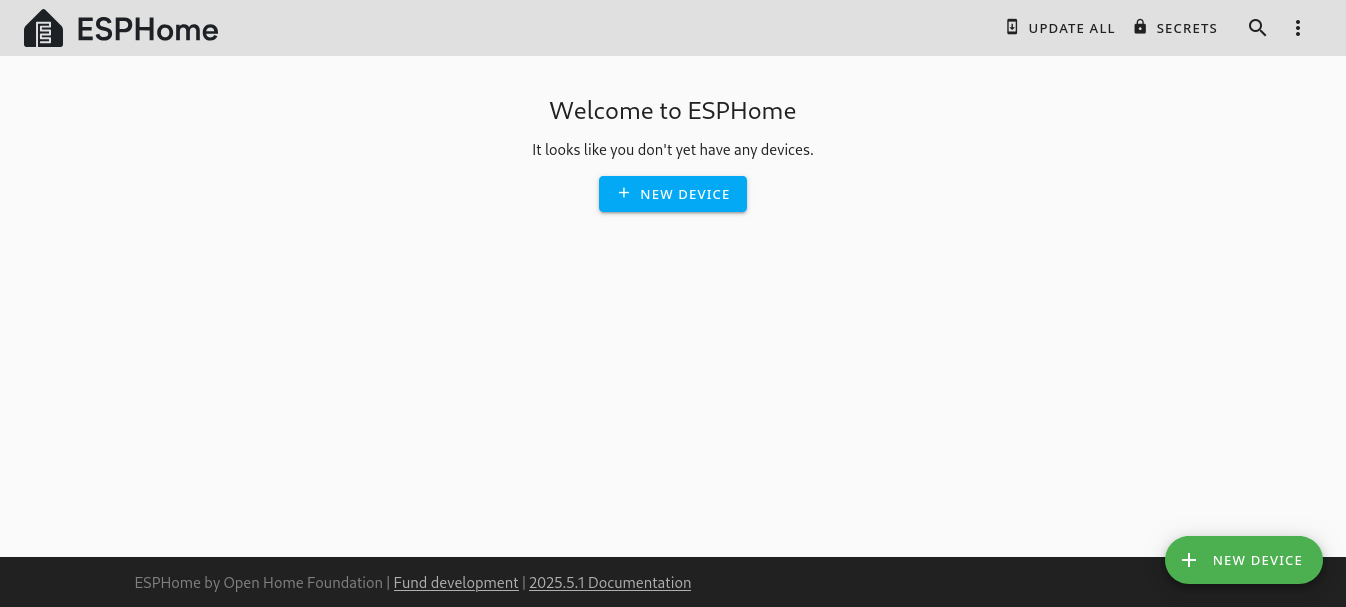
network_mode: hostESPHome should start on port 6052 by default, so make sure you have that port open on your machine’s firewall. Then simply start up the container in the background with docker compose up -d. Open up your browser and you should start with the following:
Athom Light Configuration
First, inside the folder you assigned for your /config docker volume for esphome server, fill out the following in secrets.yaml
# Your Wi-Fi SSID and password
wifi_ssid: "IOT-WiFi-SSID"
wifi_password: "Password"
Next, you can find athom’s RGBCT light configurations on their github under athom-rgbct-light.yaml. Place this file in the configuration folder.
There are a few changes I’ve made to the default configuration file for the athom light. Namely, I’ve included my own 32-byte base64-encoded string as the api key which I define in the yaml file:
api:
  encryption:
    key: # Place 32-byte base64-encoded string for your api key
I also like to put my IOT devices on a separate hidden wifi network isolated from my other devices, so I put in the configuraiton to search for wifi networks with hidden SSIDs and put in our secrets from earlier as well.
...
wifi:
networks:
- hidden: True
ssid: !secret wifi_ssid
password: !secret wifi_password
domain: "${dns_domain}"
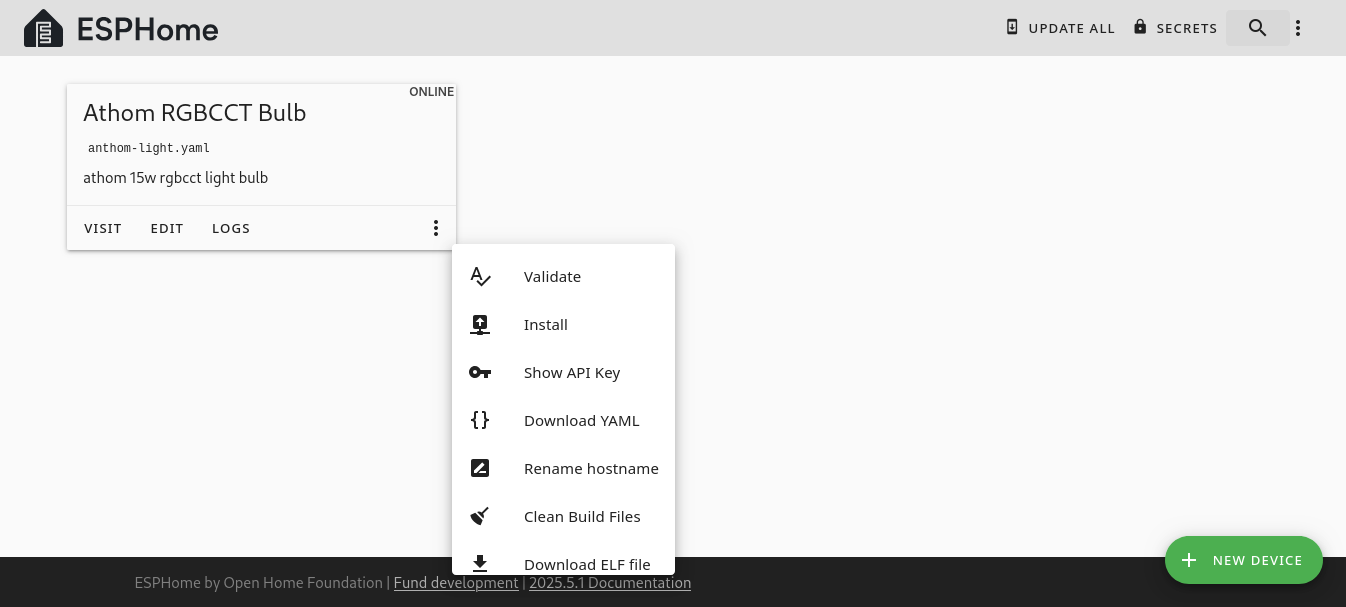
...Next you can compile and install. You also have the option of grabbing your API key here from the UI as we definined in the configuration yaml file.
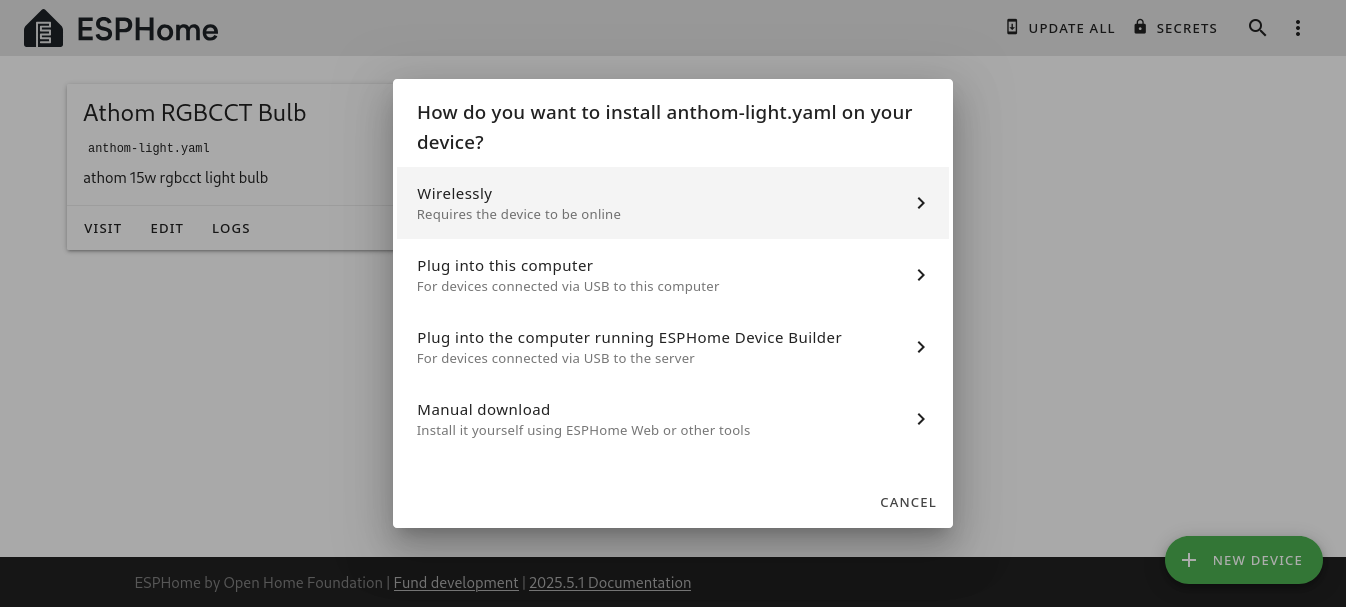
If you put in the domain of the athom light correctly, you can install the update wirelessly through ESPHome.
ESPHome Home Assistant Integration
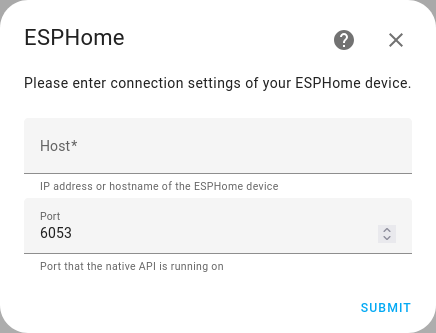
From Home assistant go into Settings > Devices & services > Add Integration. Enter “ESPHome” into the search bar for an ESPHome integration.
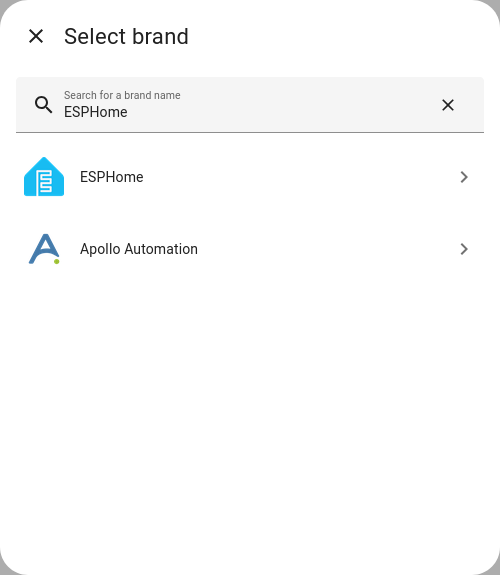
From there select ESPHome as your integration, then enter the hostname/ip address and port for your api (default 6053).
Then enter in the encryption key we defined in our athom light yaml configuration.

That’s it, you’ve now set up an RGB lightbulb running ESPHome in Home Assistant!