EDIT: The GPU passthrough problems I was having with proxmox was a result of only blocking radeon drivers on the host for passing thorugh and not amdgpu as well. Stupid lol.
Quite recently I built a PC specifically for local and private LLM inferencing. Here are the specs in case you are curious:
- Case: Corsair 4000D Airflow
- Motherboard: MSI Pro Z790-P
- CPU: Intel i7 12700K
- Cooler: Thermalight Peerless Assasin 120 SE
- GPU: Radeon RX 7900 XTX
- Power Supply: Corsair RM860e
- RAM: 32 GB DDR5
In case you are not aware of what Ollama is or what it does, it is essentially a platform to access and run large language models locally on your own hardware (Ollama, n.d.). This includes models such as llama3 from Meta and Deepseek’s R1 model which I’m sure you’ve been hearing a lot about as it’s been causing all of the massive tech giants in the U.S. to panic right now. Looking at current benchmarks, deepseek-r1 is performing just as well or better than OpenAI’s o1 counterpart, that and it was just a side project, alledgedly needing less than $6 million to develop (Deepseek AI 2025). These developments are great for me because, while I would love to utilize AI for analyzing documents and brainstorming ideas, I obviously have issues with providing that information to an outside source I have no control over, especially for privacy reasons. Additionally, if the area that you live in gets electricity from renewable sources, you’re probably doing better by the environment by running AI locally than in a datacentre.
Guide
I installed Proxmox on the host and did full gpu passthrough for the one VM I wanted to utilize for these tasks. This guide already assumes you have a linux machine set up with proper gpu firmware and drivers installed, this is a simple Ollama setup that is (mostly) Linux distro and GPU agnostic. One thing to note, however, I did have issues with my proxmox VM crashing (Ubuntu and Fedora) with error: kvm run failed Bad address. Looking into the error, I assume it was an This is because I am silly and forgot to block amdgpu drivers on the host.fwupdmgr issue causing the kernel to crash when the service would run in the background (Unknown 2024). I spun up a fresh VM and uninstalled fwupd and I haven’t come across that issue since. This is the only workaround I know of as of now, so if you’ve come across this issue and figured out a way to have fwupd working again do not hesitate to contact me and I will update this section.
Installing Ollama Binary and running a model
Installing the binary is extremely simple, go to https://ollama.com/download you will be presented with the following command to install the binary.
curl -fsSL https://ollama.com/install.sh | shAfter setup, check if ollama is running, either curl localhost:11434 on the local machine or enter in its browser localhost:11434, you should get Ollama is running in response. If ollama is not running yet:
ollama serveNext, installing a model is very simple, you may search through ollama’s various models and select one that you like that is within storage and hardware requirements for your build. For now I will select llama3 as ane example:
ollama pull llama3We can list our models after installing them by using ollama list.
NAME               ID              SIZE      MODIFIED
llama3:latest      365c0bd3c000    4.7 GB    2 days ago
Afer installing llama3, simply run llama3 by running ollama run llama3, and then you can prompt away. You can also check if it’s utilizing your gpu properly through nvidia-smi or rocm-smi depending on if you’re using Nvidia or AMD respectively.
Access Ollama outside of localhost (optional)
Right now you can access and use ollama inside of the host that you’re using to run it, but if you want to use the ollama API from any machine on your LAN, you will have to change the OLLAMA_HOST path variable. In the case of most Linux distros, you can change the path variable through ollama’s systemd service.
Simply add Environment="OLLAMA_HOST=0.0.0.0:11434" in /etc/systemd/system/ollama.service under [Service]:
[Unit]
Description=Ollama Service
After=network-online.target

[Service]
ExecStart=/usr/local/bin/ollama serve
User=ollama
Group=ollama
Restart=always
RestartSec=3
Environment="PATH=/home/jordanh/.local/bin:/home/jordanh/bin:/usr/local/bin:/usr/local/sbin:/usr/bin:/usr/sbin"
Environment="OLLAMA_HOST=0.0.0.0:11434"

[Install]
WantedBy=default.target
Then reload the systemd daemon and restart ollama:
sudo systemctl daemon-reload
sudo systemctl restart ollama
Now try to enter <ip-of-ollama-host>:11434 from a separate machine into your browser or curl <ip-of-ollama-host>:11434. If you get Ollama is running all is working.
Implementing a user interface
Now you should be able to run LLMs through the command line, but you probably want something a bit more user friendly and ads extra features. Enter Open WebUI: a self hostable user interface for interacting with AI that can be run entirelly locally.
Open WebUI deploying through docker
Open WebUI’s documentation makes it really easy to get started by deploying it through docker (Unknown, n.d.). This is what worked for me using an AMD GPU:
docker run -d -p 3000:8080 --add-host=host.docker.internal:host-gateway -v open-webui:/app/backend/data --name open-webui --restart always ghcr.io/open-webui/open-webui:mainFor Nvidia GPUs you may need to add --gpus all to the command.
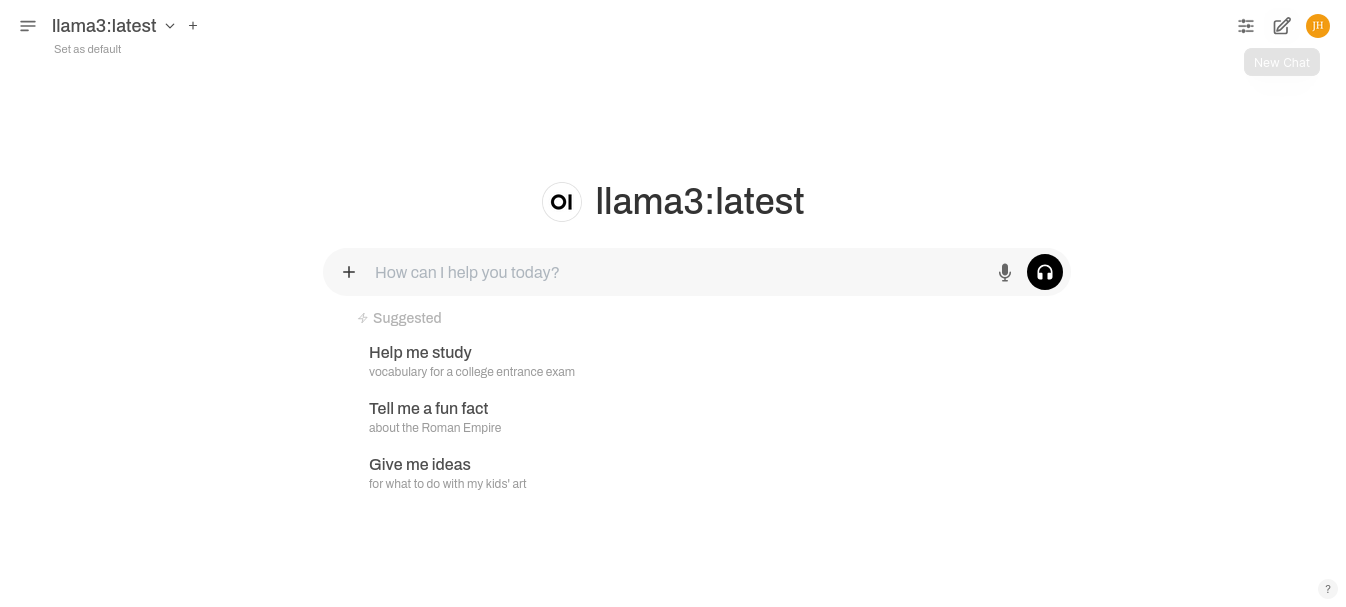
From there, going to <ip-of-webui-host>:3000 in your browser should prompt you to set up an admin account, and from there your ollama models should show up on the home page:
Adding a user group in Open WebUI and giving it access to models
Now, I’m not going to copy-paste the entire Open WebUI documentation as I don’t think that would be tedious and not very useful, there’s definitely enough there to get you on your way from here. However, there’s one more thing I’d like to share which is giving other users on my LAN access to local models. You can do this very simply through the the Open WebUI admin panel.
First, simply click on your user profile on the top right and then go to Admin Panel. Once you’re there, you can see an overview of all of your users and their roles, add a user by clicking on the top right + sign.
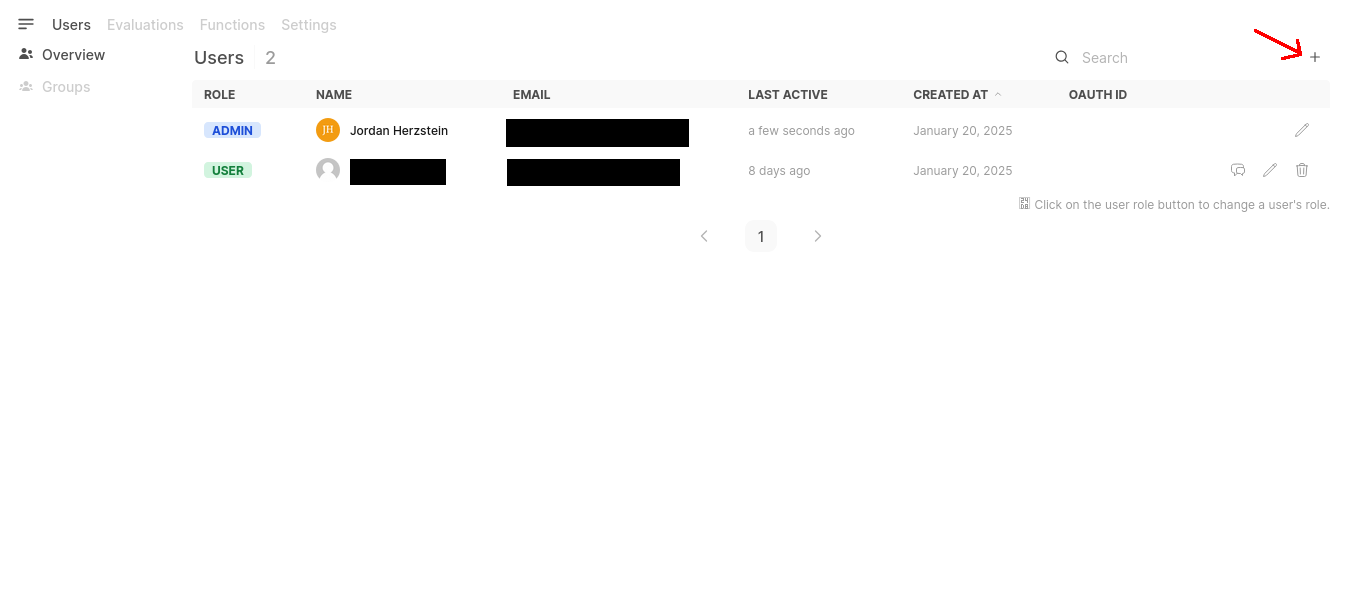
From here you specify user role (Admin or User), name, email, and password for that user.

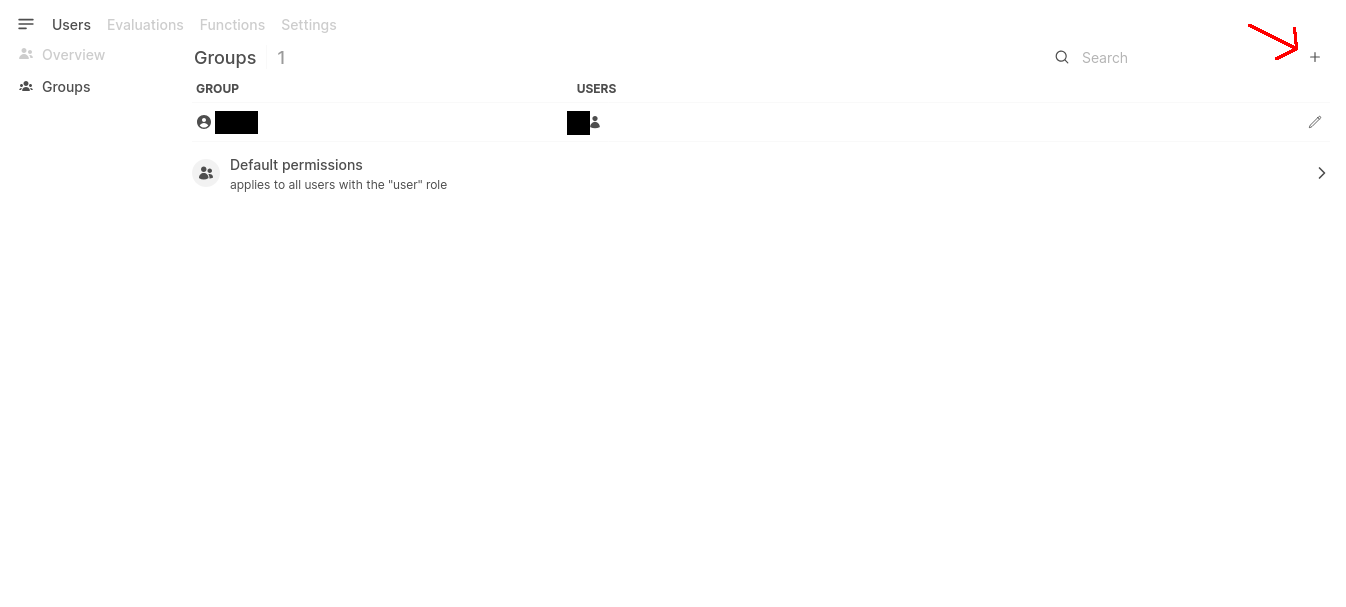
Next, still in the Admin Panel go to Groups and add a group for our user.
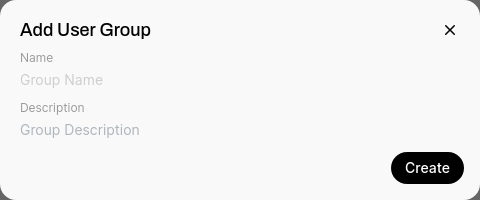
Add a name and optional description for a new group and save.
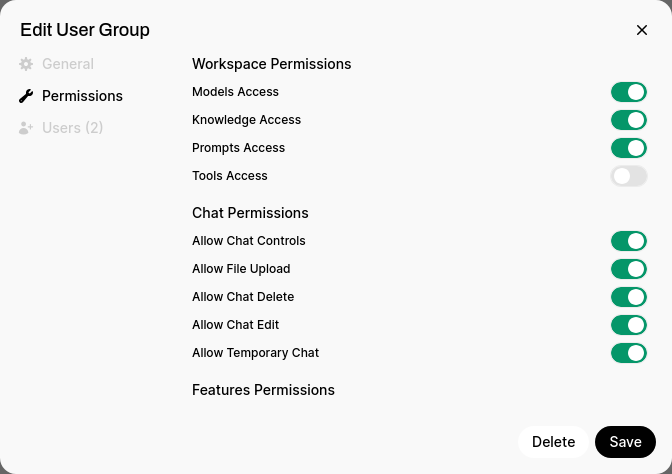
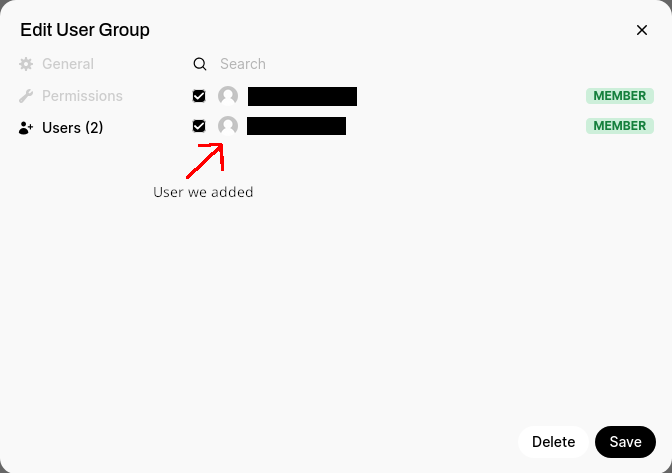
Next we want to change permissions to allow the group access to models, and finally add users to our newly created group:
From here, to give our users access to llama3:latest we still need to edit the model itself to give it access to the new group we created. From the Admin Panel we can nagigate to Settings>Models>llama3:latest. Otherwise, if you’re on the home page navigate to your profile on the top right, then Settings>Admin Settings>Models>llama3:latest.
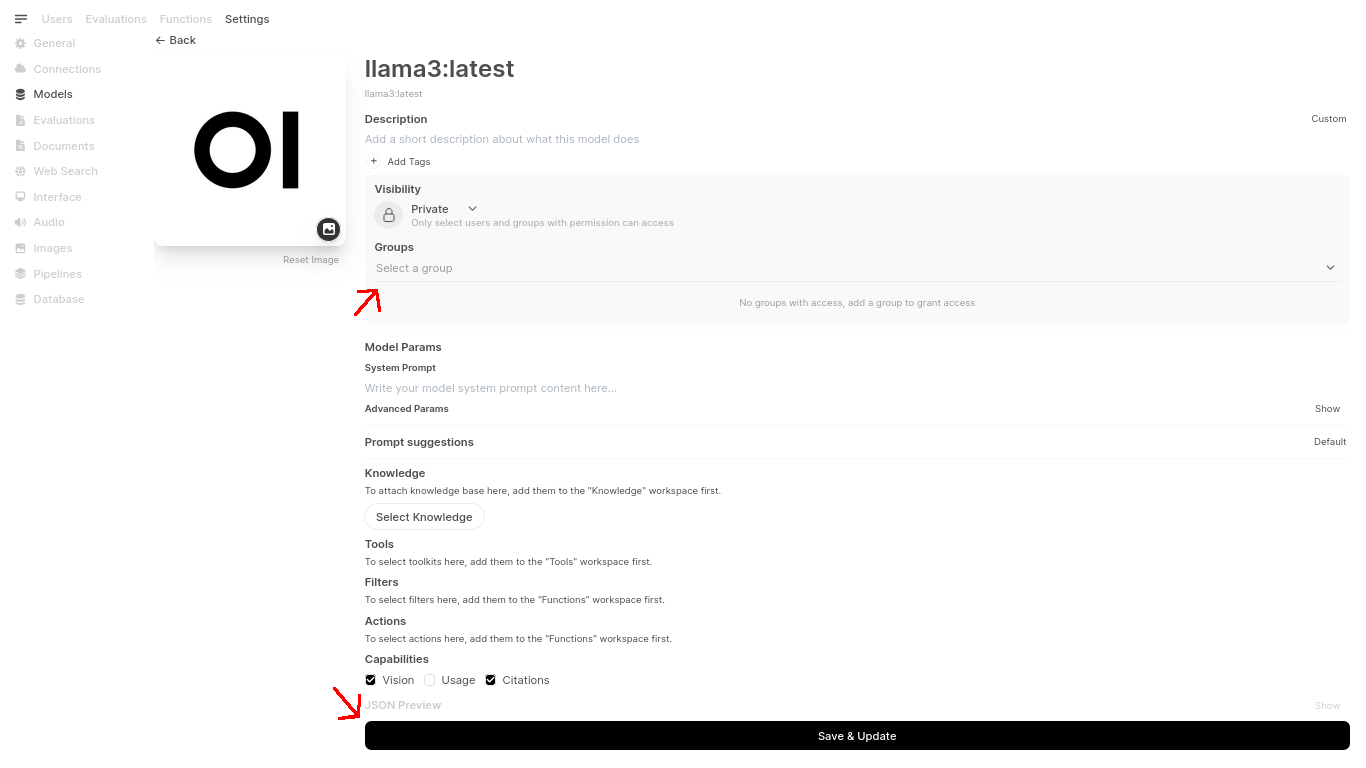
From here select the group you just made to add to the model and save.
That’s it, enjoy AI inferencing on your own hardware under your control!